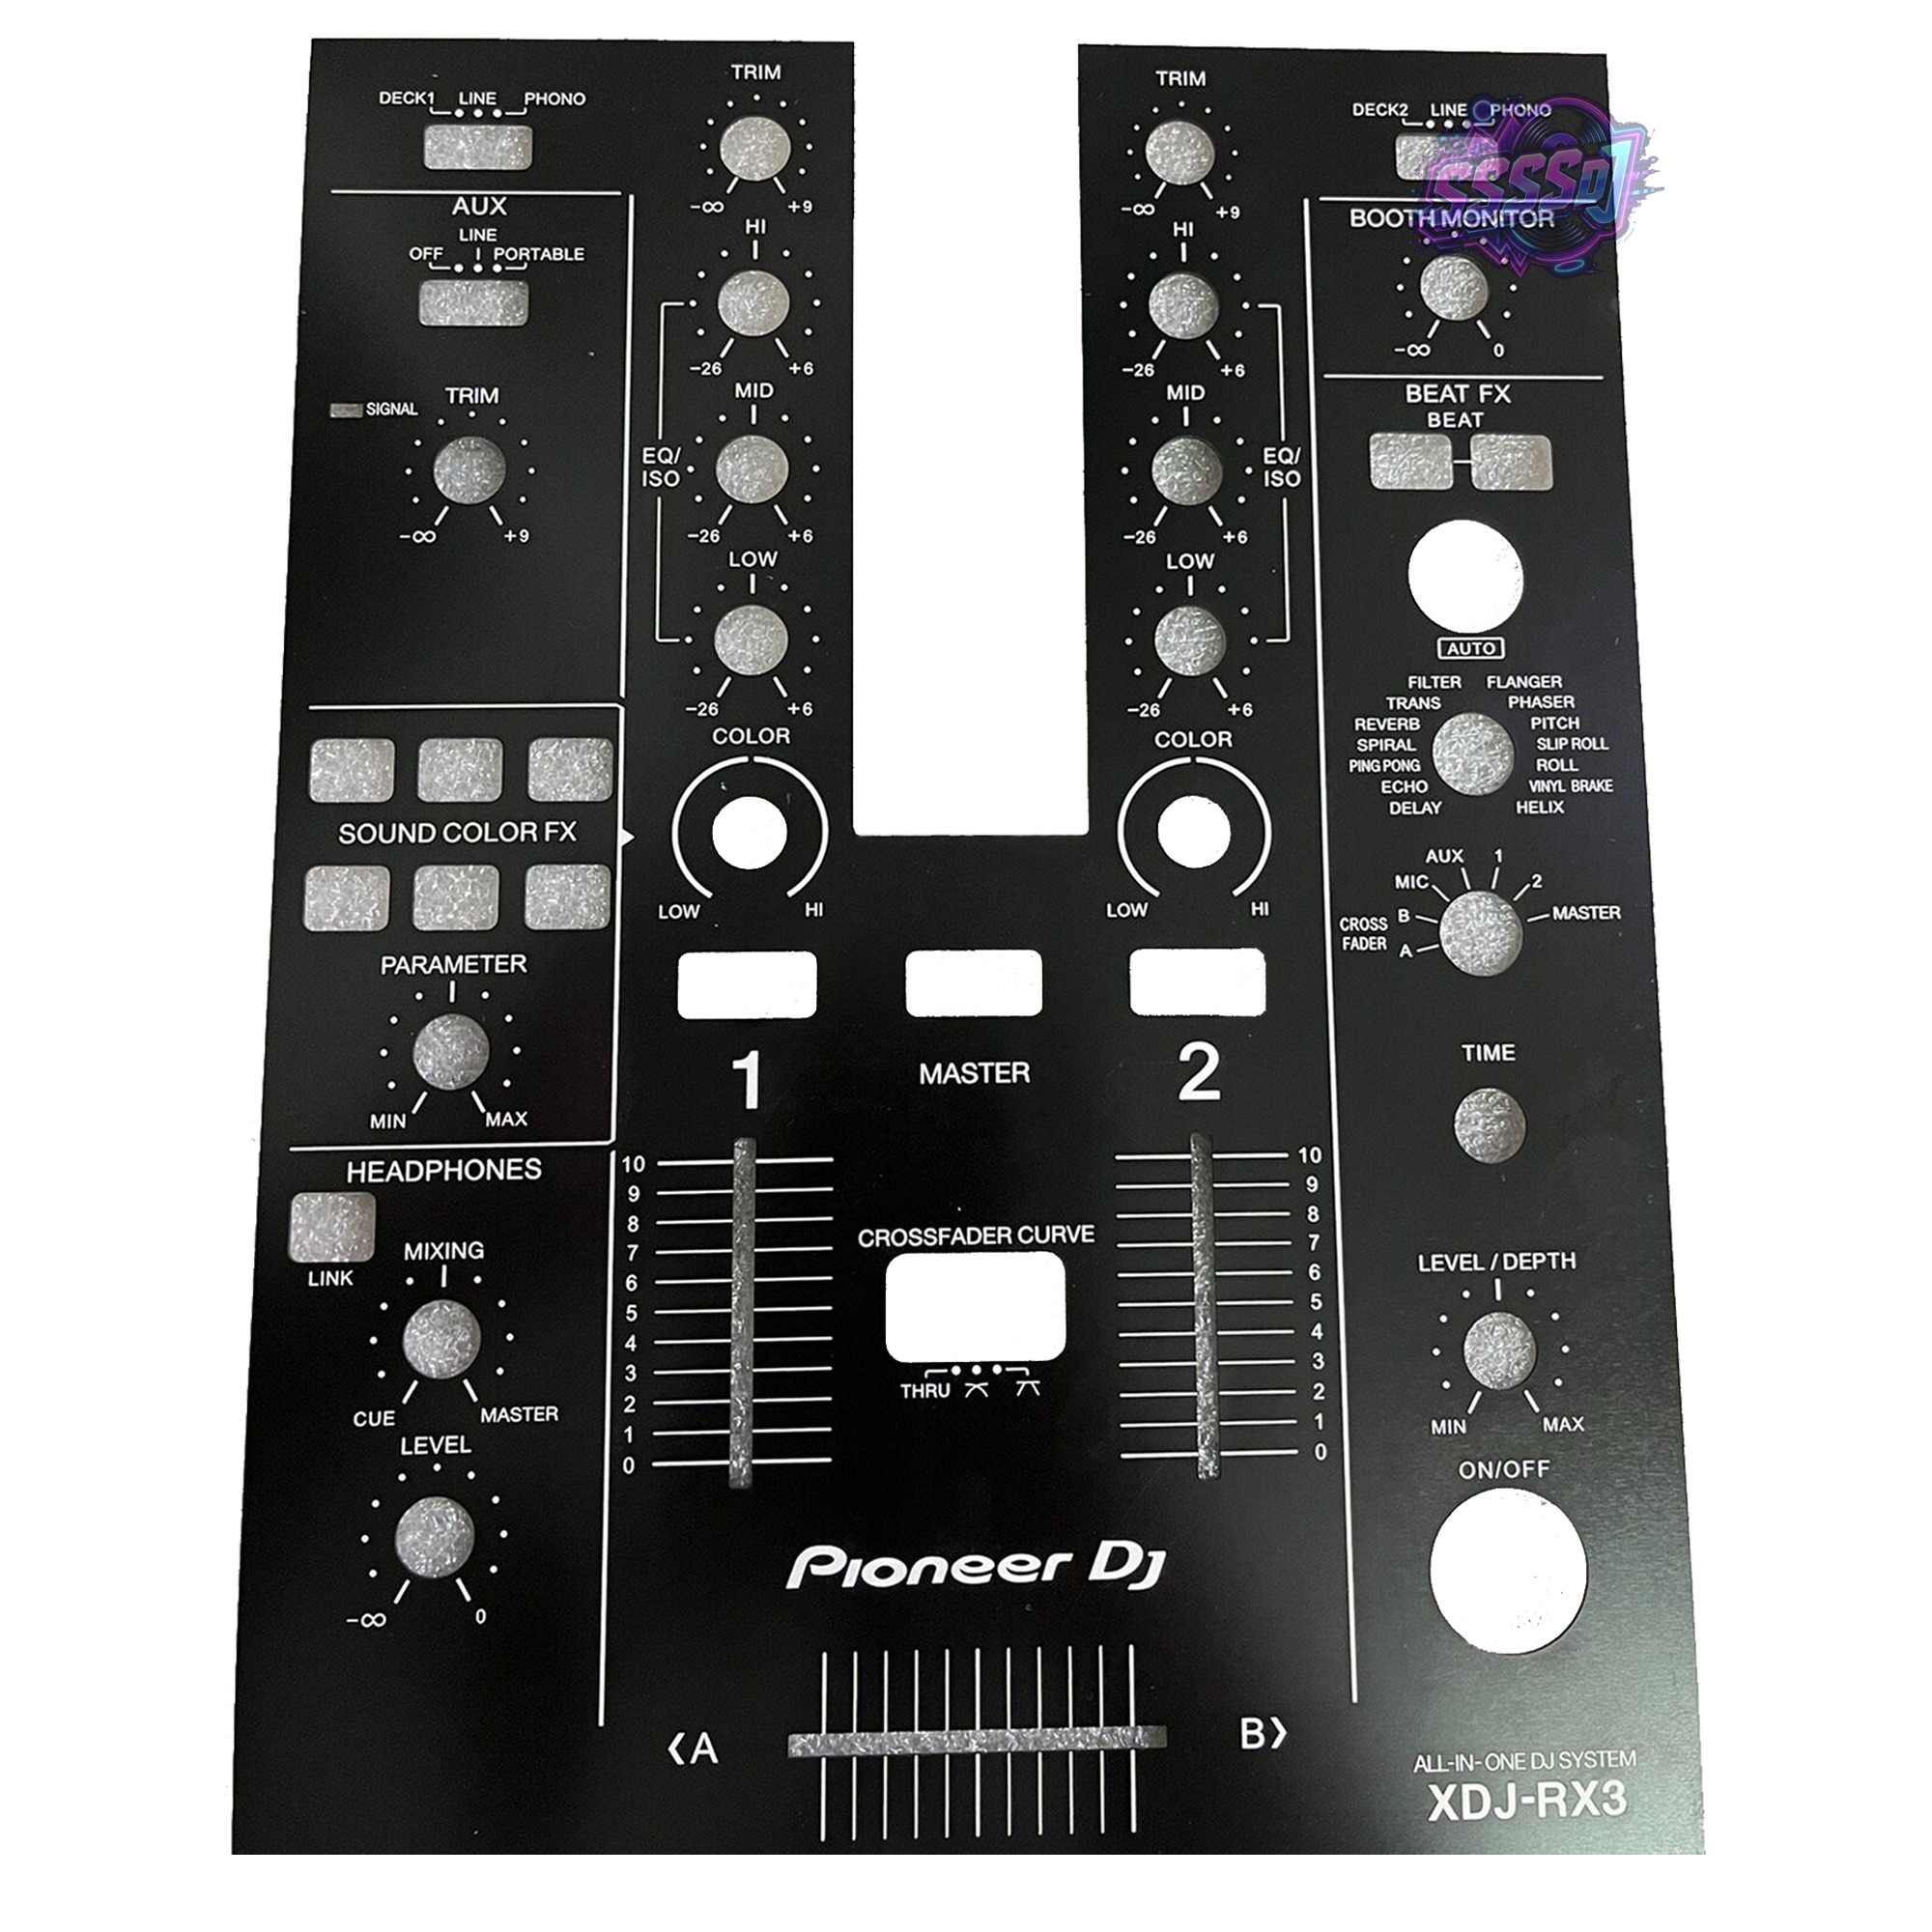
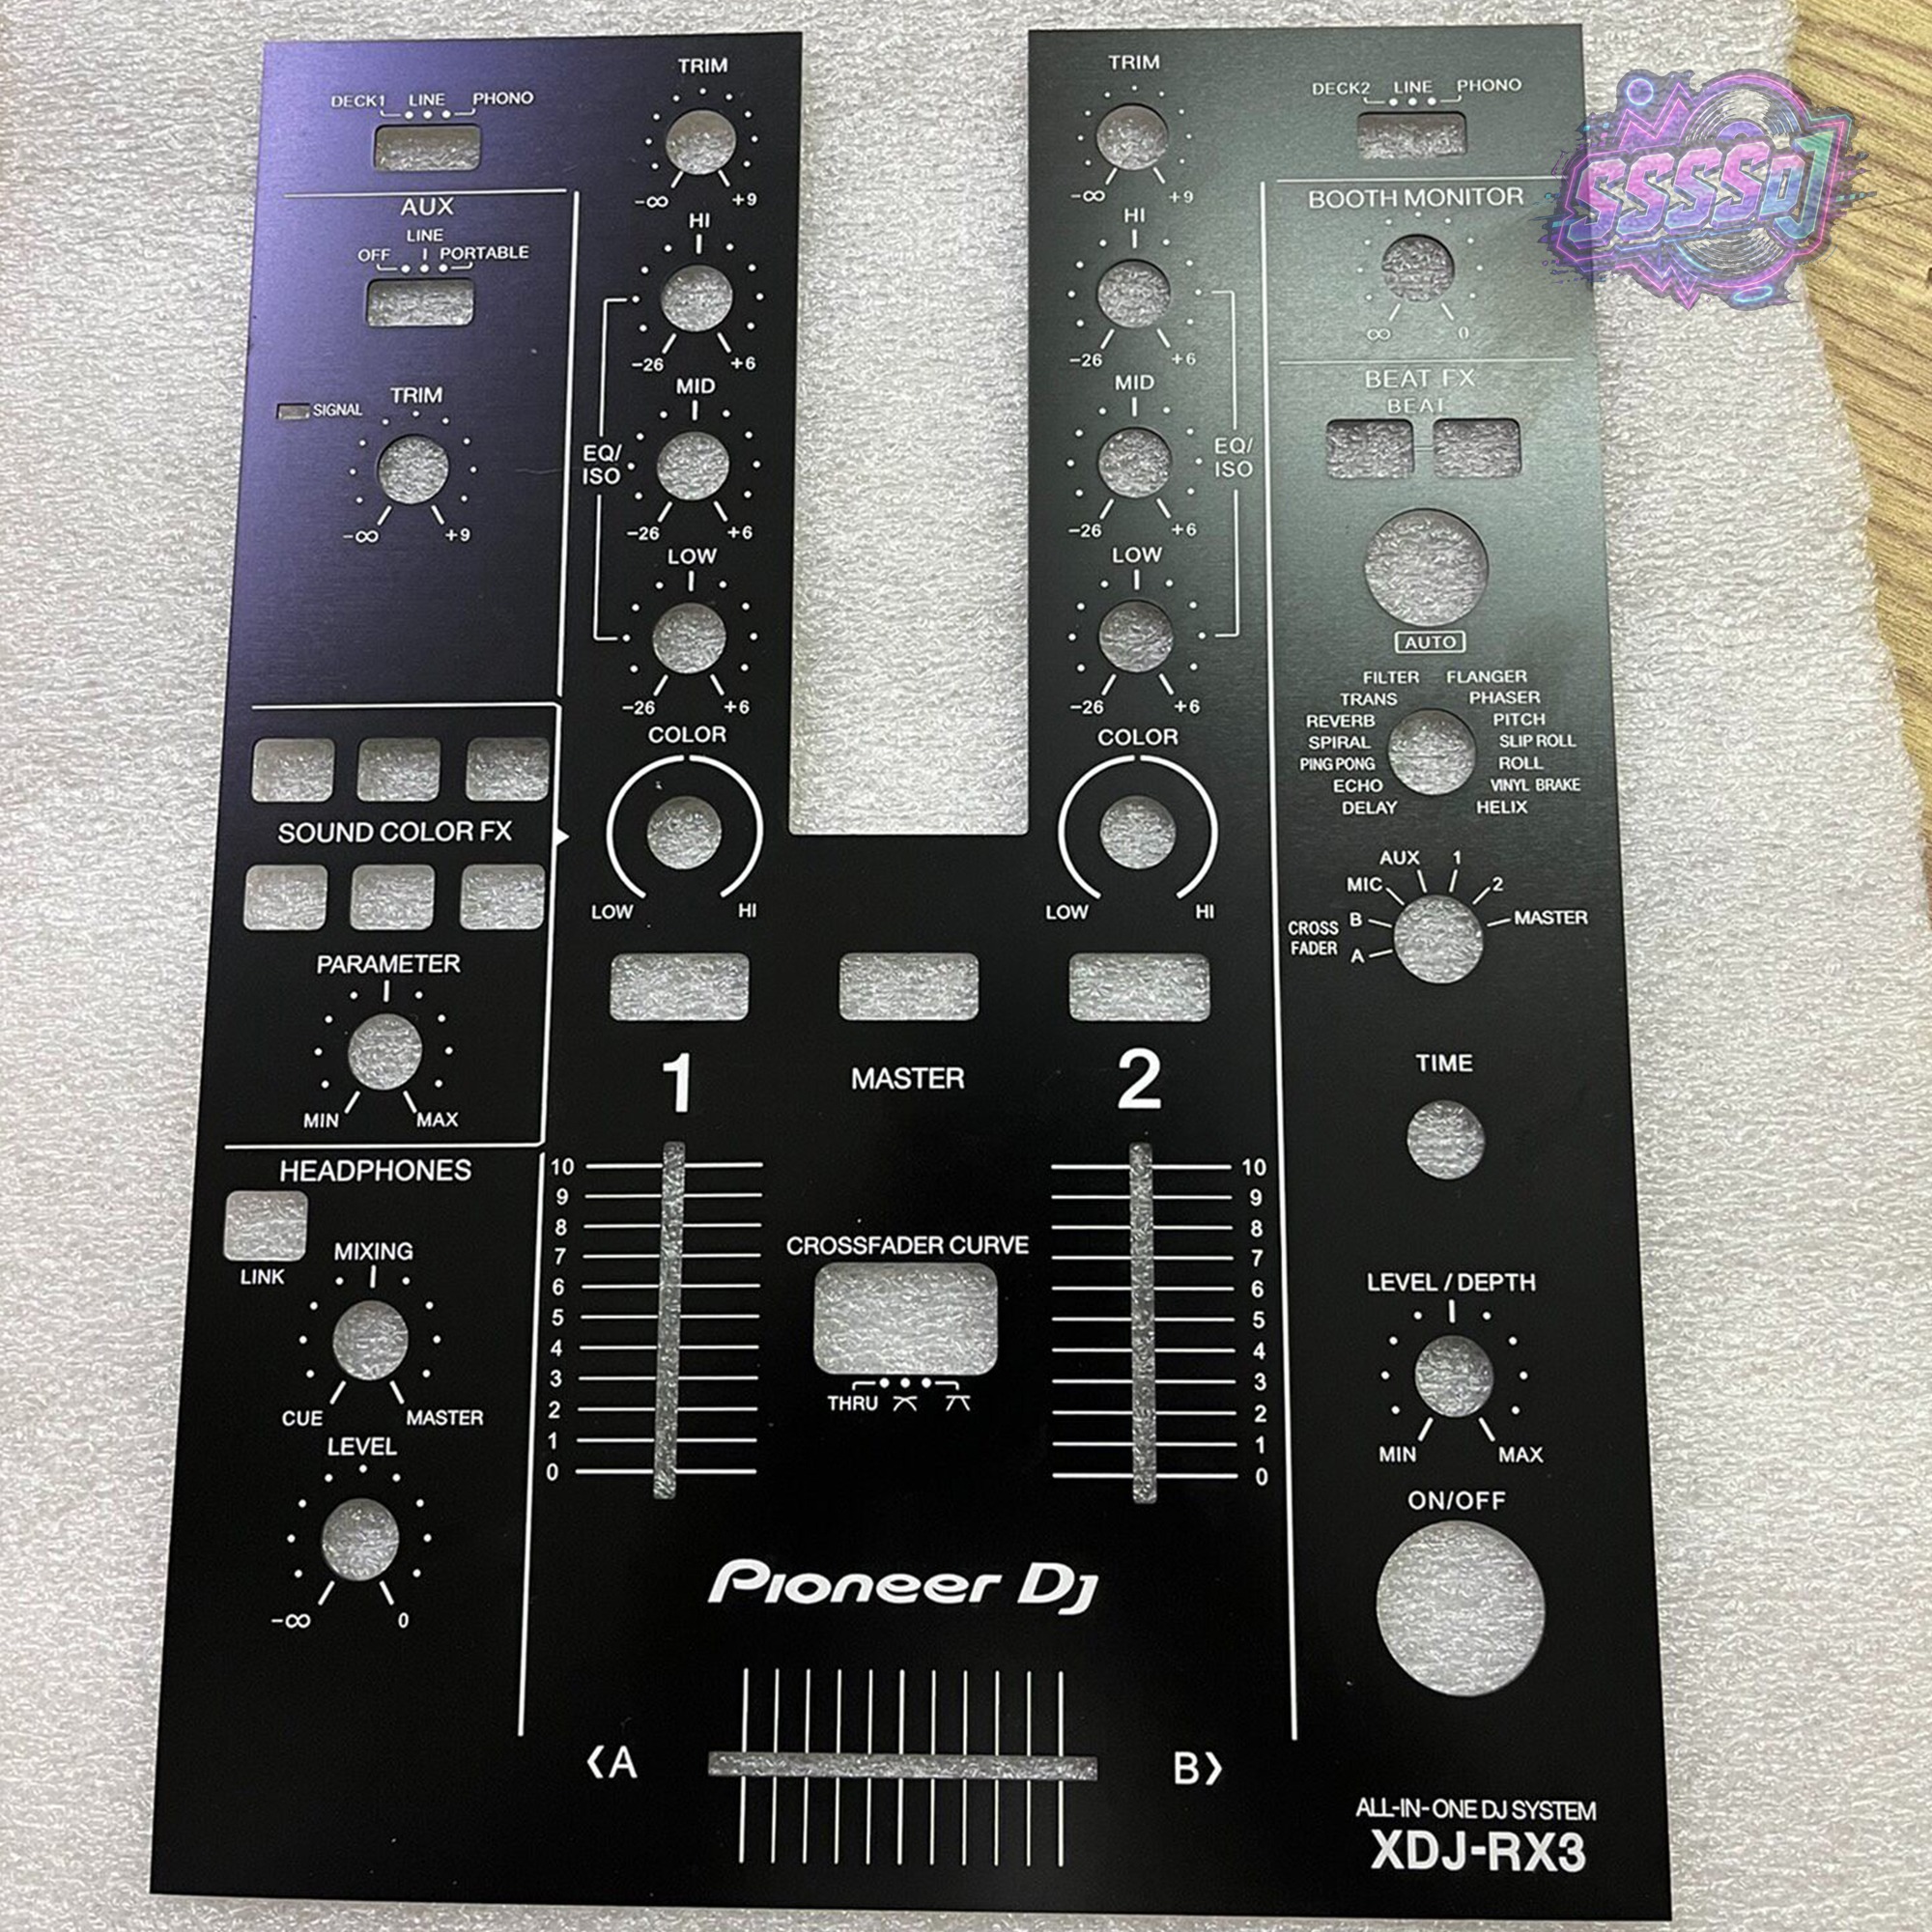
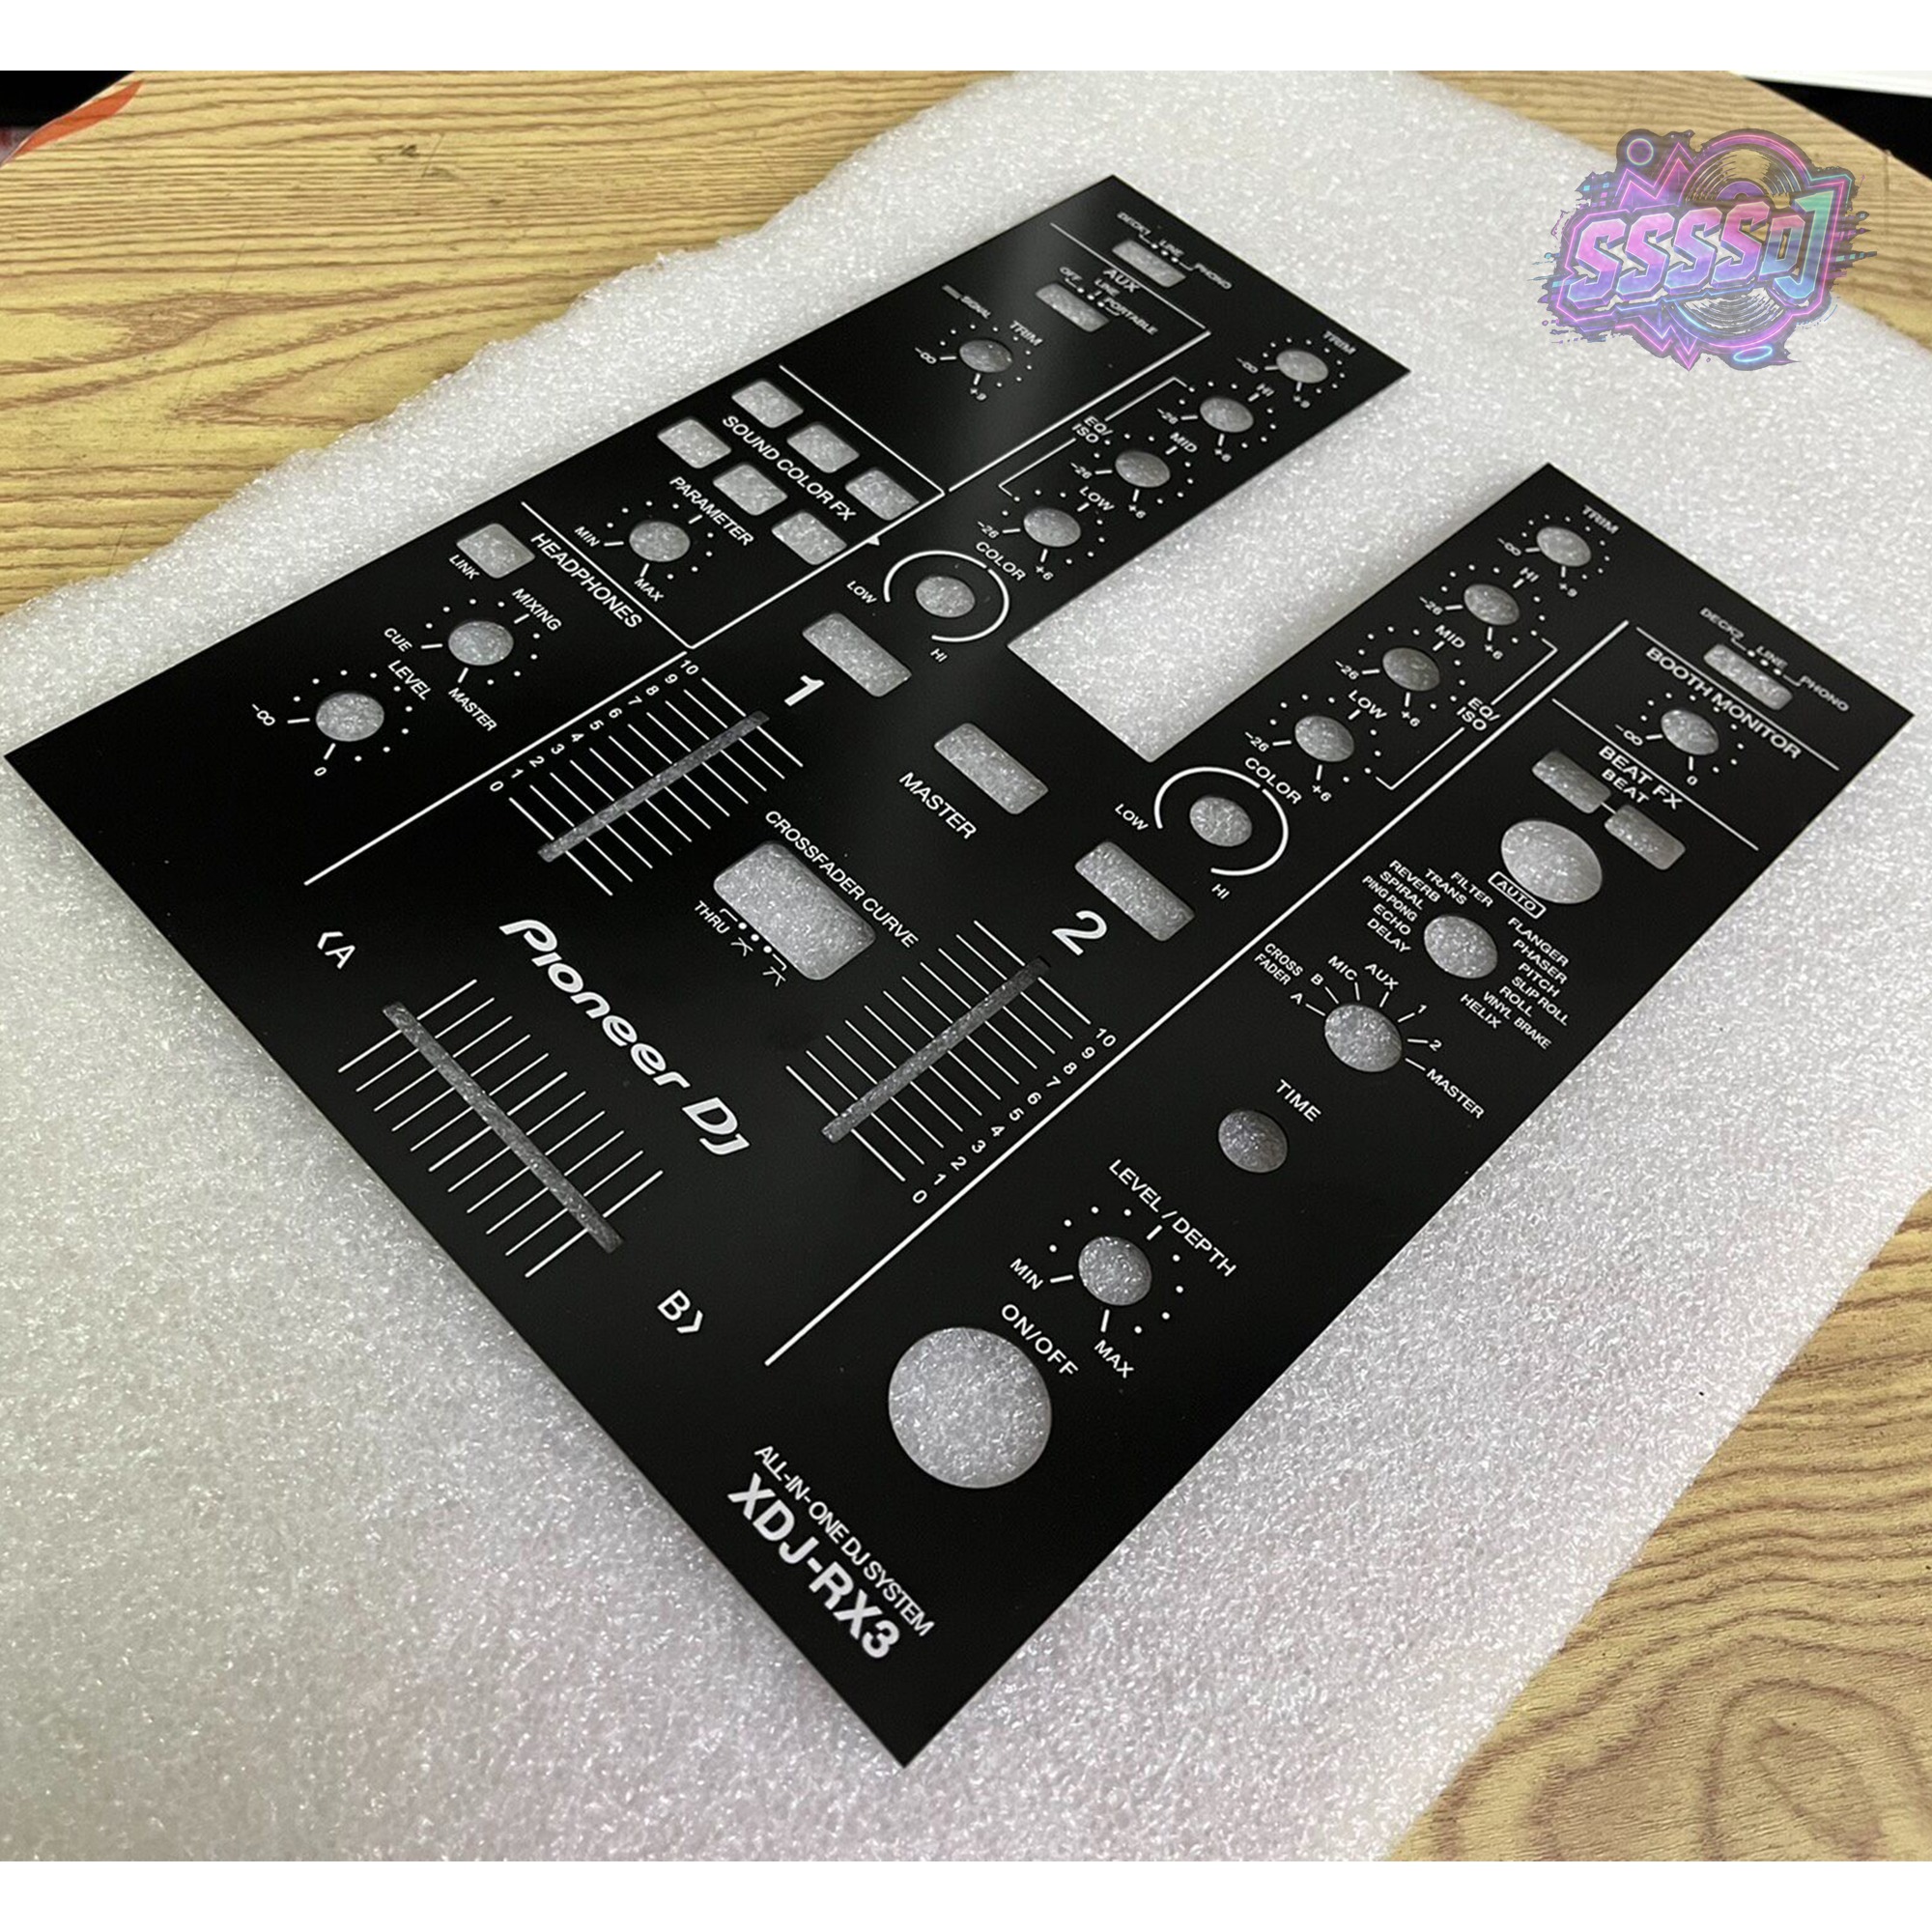
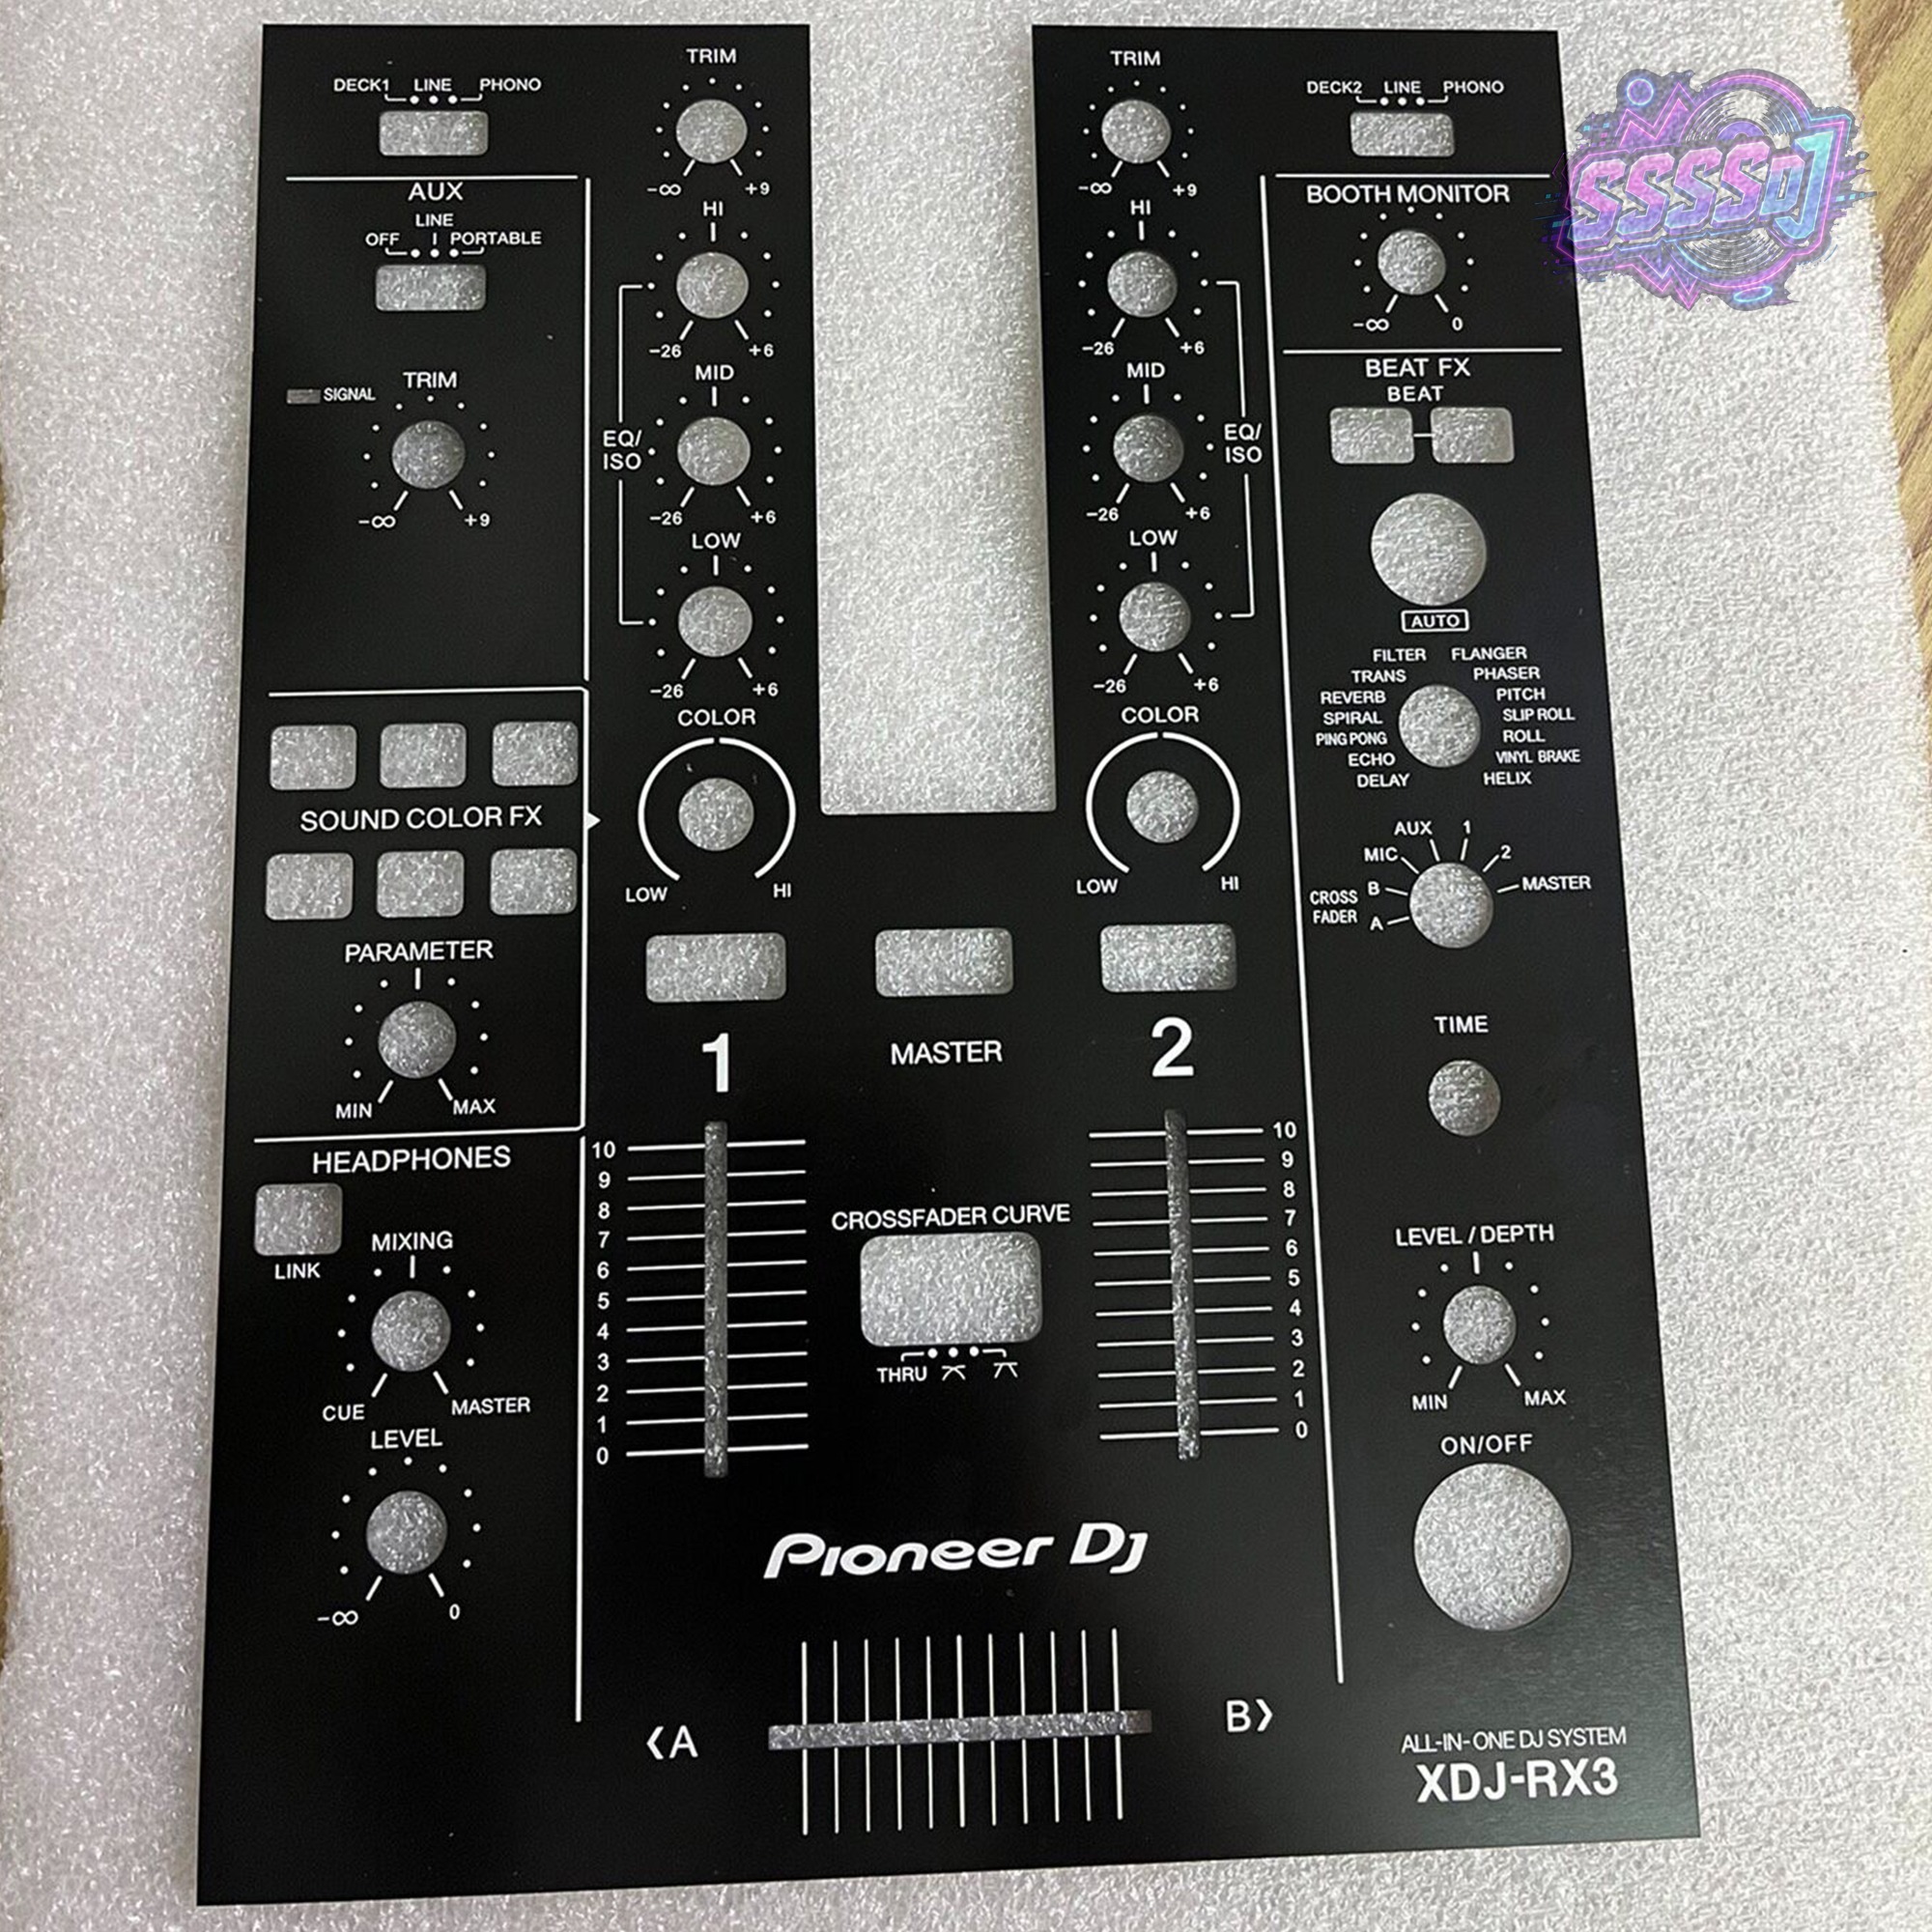
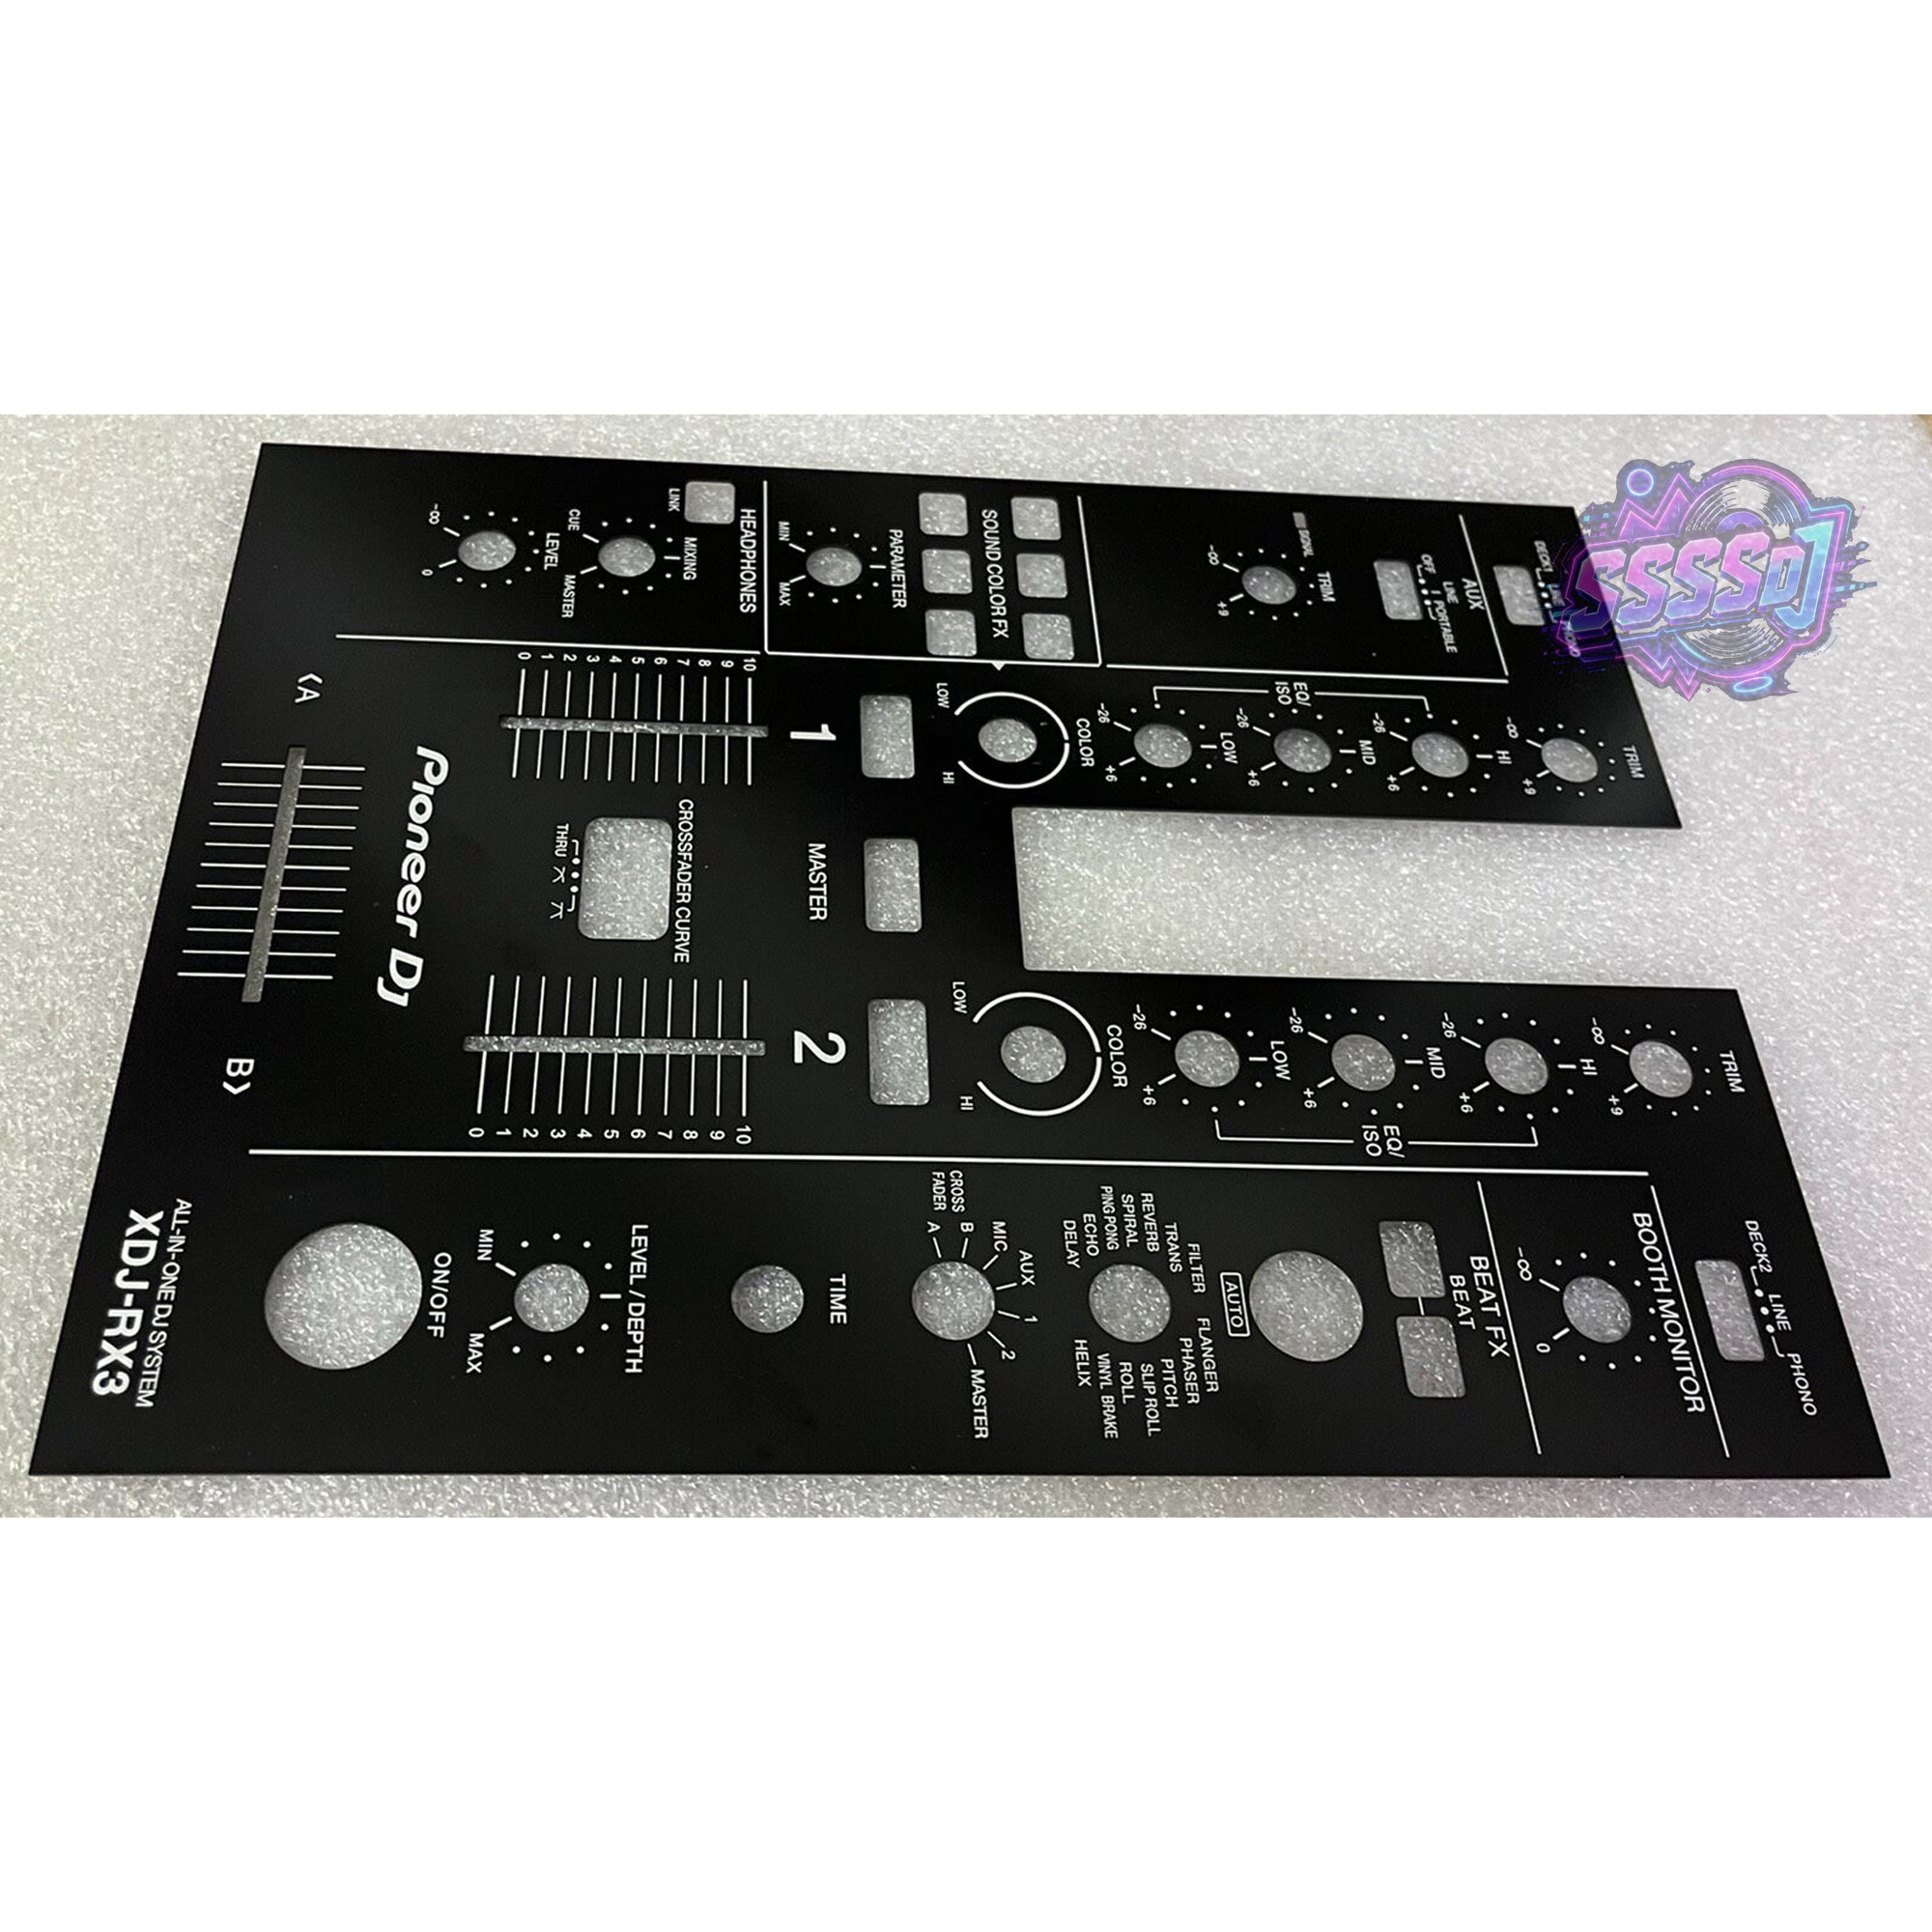
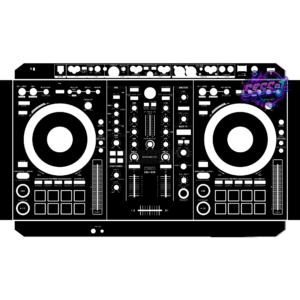
The centre panel is where an XDJ-RX3 shows its age first. Cables dragged across it, a drink knocked over at a gig, a rack case that was closed too fast – the brushed finish scratches and the white lettering around the pads and faders wears away long before the electronics give up. This is the replacement panel for that exact area.
What it fixes
- Scratches, scuffs and polished patches on the panel surface
- Faded or rubbed-off print around the performance pads and fader slots
- Dents and bent edges from transport
- A tired-looking deck you want to sell or trade in
Compatibility
- Pioneer DJ XDJ-RX3 only
- Not interchangeable with XDJ-RX2, XDJ-RX or XDJ-XZ – the cut-outs and layout differ
What you get
The panel itself. Knobs, fader caps, pads and screws are reused from your existing unit – they are not included.
Fitting notes
Power the deck down and unplug it before you start. Pull the knobs and fader caps straight up rather than twisting them, undo the screws around the panel edge, then lift the old panel away and transfer the hardware to the new one. Keep the screws separated – the XDJ-RX3 uses more than one length. Work on a soft cloth so the new finish stays unmarked. Allow 30-45 minutes.
FAQ
Do I have to remove the jog wheels?
No. The centre panel lifts out from between them.
Is the lettering printed or engraved?
The white legend is applied to match the original layout; the surface underneath is a brushed metal finish.
Will my old screws fit?
Yes – the hole pattern follows the original panel, so the existing screws are reused.
Is this a genuine part or a replacement?
It is a replacement XDJ-RX3 part, not a used original. If you searched for XDJ-RX3 spare parts or a replacement panel, this is the drop-in equivalent – the mounting pattern follows the original.
Reviews
There are no reviews yet.